Give the pen one destination
A screenless pen tablet becomes easier to use when the same place under your hand always points to the same place on the display. If moving across the tablet sends the pointer through a laptop screen and an external monitor, drawing can feel cramped even though the pen is working. Start by assigning the tablet to the display containing your canvas.
This walkthrough uses Windows 11 and the Wacom Center controls described in Wacom's current help. It assumes the tablet is recognized and the pen already moves the pointer. Other brands and older drivers need their own model documentation; the menu names below are not universal. A tablet with a built-in screen has additional alignment concerns outside this guide.
Save your artwork, open a disposable document, and keep a mouse or trackpad available. Write down the current display selection and pen mode before changing anything. Your acceptance target is simple: reach the intended display's corners, return consistently to its center, and draw without an obvious directional stretch. These checks are proposed exercises, not reported hardware tests.
Identify the canvas screen before choosing a number
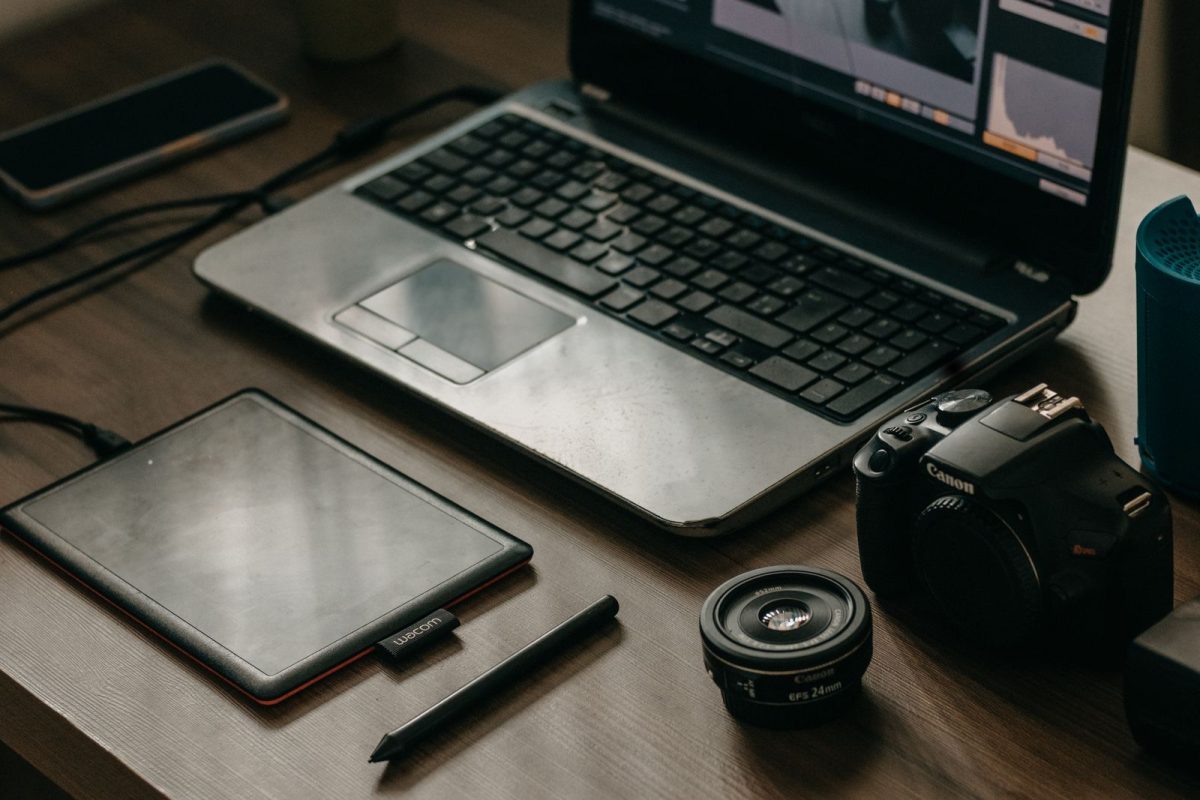
Imagine a hypothetical illustrator using a laptop beside a larger monitor. Reference pictures belong on the laptop; the canvas belongs on the larger screen. Their goal is to let the pen control that screen alone, while the mouse remains available for reference windows.
In Windows, open Settings → System → Display → Identify. Note which number appears on the physical canvas screen. If you need separate content on both screens, press Windows key + P and choose Extend. Microsoft documents both controls in its multiple-monitor guide. Duplicate shows the same content on the displays.
Move the disposable drawing window onto the chosen monitor with the mouse. Leave it there throughout the checks. Otherwise, a correctly assigned pen can appear wrong simply because the canvas is elsewhere.
Record the physical identity as well as the number: “external monitor beside the lamp” is more useful than remembering only “2.” If the expected monitor is missing from Windows, resolve that display connection first. A tablet assignment cannot target a screen the computer has not detected.
Make a pen location mean a screen location
In Wacom Center, select your tablet, open Mapping → Advanced, and under Mode choose Pen. Wacom's advanced mapping documentation describes Pen mode as absolute positioning: tablet locations correspond to screen locations. Mouse mode instead behaves relatively, retaining the pointer position when you lift the pen.
Try this without touching the tip down: bring the pen within tracking range near the tablet's center, lift it away, then return to that same spot. Repeat from a different starting location. In absolute mode, the pointer should return to approximately the same screen position. Perfect placement by hand is unnecessary; you are checking the pattern, not measuring accuracy.
If it behaves like a mouse that you can repeatedly pick up and slide, check the mode again before adjusting other settings. Changing several controls together makes it harder to identify what helped.
Look at the screen while moving the pen. Keep the tablet in one comfortable orientation for the exercise. A screenless surface provides no picture to line up with the pen tip; learning a repeatable hand-to-screen relationship is the useful skill here.
Select one display, then check its whole rectangle
Follow Wacom's documented single-display mapping procedure:
- Open Wacom Center and select the tablet in the Devices sidebar.
- Select Mapping.
- Under Display mapping, choose Select one display.
- Select the intended screen on the selection screen and click Apply.
Now hover near each corner of the tablet's mapped area and then its center. Watch which physical monitor receives the pointer. Keep the tip raised so the exercise does not click a close button or mark your document.
- Pass: the pointer stays on the canvas monitor and approaches the corresponding corners.
- Wrong destination: it remains on the laptop. Recheck the selected display against its physical identity.
- Too broad: it travels between monitors. Revisit the single-display selection.
- Incomplete rectangle: part of the canvas monitor is unreachable. Inspect whether a custom screen portion was previously configured.
There are two different rectangles to consider: the screen region receiving input and the tablet region supplying it. A custom screen portion excludes screen space; a smaller tablet region changes the hand travel needed. Leave custom regions alone until the basic assignment passes.
Correct stretched motion without chasing a perfect circle
Open Mapping for the tablet and turn Force proportions on, following Wacom's proportions guidance. This preserves the horizontal-to-vertical relationship between input and output. Depending on the shapes involved, some tablet surface may become inactive. Inspect the mapping preview to understand the usable boundary.
In a hypothetical setup with a relatively square tablet area and a wide display, using every bit of both rectangles requires different horizontal and vertical scaling. Preserving proportions avoids that unequal stretch by using a suitably shaped input region. An unused strip can therefore be an intentional consequence of the setting.
On the disposable canvas, draw several loose loops and a cross with roughly equal arm lengths. Compare the feel of horizontal and vertical movement. A hand-drawn circle is not a calibration instrument: ordinary drawing variation can produce an oval with a correct mapping.
Use the exercise to notice a persistent directional bias, then confirm the setting and preview rather than repeatedly correcting your hand. Repeat the corner hover check within the usable area. If the problem is misplaced input rather than stretched motion, return to the display assignment; proportions cannot choose the right monitor for you.
Recover from a changed desk or an application-only failure
After changing monitor connections, resolution or desktop arrangement, repeat the display and corner checks. Wacom warns that computer display-property changes also affect mapping. Treat your written setup as a starting point to verify, not a guarantee that the old selection still means the same thing.
If the pointer is correct over ordinary desktop windows but misplaced inside one drawing application, record that distinction. Try a fresh disposable document and another application you already have. A failure confined to one program calls for its tablet-input documentation and support, rather than repeated changes to the whole desktop. Avoid guessing at undocumented application switches.
If hover no longer produces any pointer movement, stop treating the issue as coordinate confusion. Use the tablet model's official connection and driver troubleshooting. Before seeking help, record the tablet model, driver version, monitor arrangement, selected destination, and whether the failure occurs outside the drawing program.
To recover from an unhelpful adjustment, use the mouse to restore the recorded setting and repeat the same hover exercise. Stop once the intended screen is reachable and positioning is repeatable. Pressure response, stroke smoothing and brush behavior can be addressed afterward, with the coordinate relationship already established.
Sources, versions & scope
The steps describe the documented controls and expected checks; they are not a claim that every device or software release has been physically tested. Platform and version differences are stated with the procedure.